What Should You Inspect Before Accepting a Newly Installed PPF?
Receiving your vehicle after a paint protection film installation is an exciting experience, especially when you have invested in maintaining its original appearance. However, before accepting the vehicle, taking time to inspect the finished application is essential. A detailed PPF installation inspection helps identify potential problems with film alignment, edge finishing, coverage consistency, visible bubbles, and trapped debris. Although some minor visual effects may appear during the initial curing period, other imperfections could require attention from the installer. Understanding what to examine makes it easier to distinguish normal curing effects from possible installation defects. For vehicle owners in El Cajon, CA, knowing how to evaluate the completed work also helps ensure that the selected PPF package matches their expectations. A careful inspection, combined with clear communication with the installation professional, can help maintain the quality and appearance of the vehicle's paint protection.
Why Is a Post-Installation PPF Inspection Important?
A post-installation inspection allows vehicle owners to evaluate the quality of the completed work before accepting their vehicles. Even when experienced professionals perform the installation, examining the film helps confirm that the selected panels have received the expected coverage and finishing. It also provides an opportunity to discuss visible concerns directly with the installer. Taking this step is important because identifying possible imperfections early can make it easier to determine whether an adjustment or additional attention is necessary. A thorough examination also helps customers understand the condition of their newly protected vehicle and feel more confident about the service they have received.
Identify Installation Imperfections Early
Examining the vehicle carefully can reveal imperfections that may not be noticeable from a distance. Uneven film placement, raised corners, visible contamination, wrinkles, and inconsistent edges are some concerns that deserve attention during the inspection. These issues can affect the overall appearance of the protected panels and may indicate that a particular area needs further evaluation. Discussing concerns with the installer before leaving the facility helps establish clear communication about the condition of the application. It also allows the professional to explain whether the issue requires correction or is associated with the initial curing process. Addressing visible concerns at this stage helps customers understand what has been completed and whether anything needs additional attention.
Confirm the Quality of the Application
A professional installation should demonstrate consistent film placement, smooth finishing, and coverage that matches the selected package. Examine the protected panels individually rather than judging the entire vehicle from one viewing position. Pay attention to the way the film follows the vehicle's natural contours and whether the edges appear properly finished. Checking these details helps you understand the overall application quality and determine whether the completed work matches the service discussed during booking. It also gives the installer an opportunity to address questions about specific areas before the vehicle is returned. This inspection is particularly useful when several panels or complicated sections have been included in the selected package.
Protect Your Investment Through Early Inspection
Investing in paint protection film involves more than selecting a suitable package; the quality of its application also matters. A careful inspection helps vehicle owners understand how the film has been positioned and whether any visible concerns need professional attention. It is particularly important to review areas that experience frequent exposure to road debris, such as the front bumper, hood, and fenders. Discussing possible imperfections early helps prevent misunderstandings about the installation and provides an opportunity to clarify the recommended aftercare process. Taking these precautions allows customers to make informed decisions about their vehicle's protection and understand how to maintain the newly installed film.
Check the Film Alignment Across Every Panel
Film alignment plays an important role in the finished appearance of a PPF installation. The material should follow the natural curves and boundaries of the vehicle without looking crooked or uneven. During your inspection, examine each protected panel separately and pay attention to how the film sits around curves, corners, and detailed sections. Consistent positioning helps create a clean appearance while ensuring that the selected areas receive the intended protection. Look closely at the hood, front fenders, bumpers, mirrors, headlights, and door handles. These areas have different shapes, which means accurate positioning requires careful measurement and attention during application. Check for uneven spacing, visible misalignment, or sections that do not follow the panel's contours properly. CCA Detailing uses vehicle-specific measurements and manual film trimming to accommodate individual vehicle specifications and natural body lines. This approach helps achieve accurate placement across different vehicle designs. If you notice an area that appears incorrectly positioned, ask the installer to examine it before accepting the vehicle.
Examine the Edges and Corners for Proper Finishing
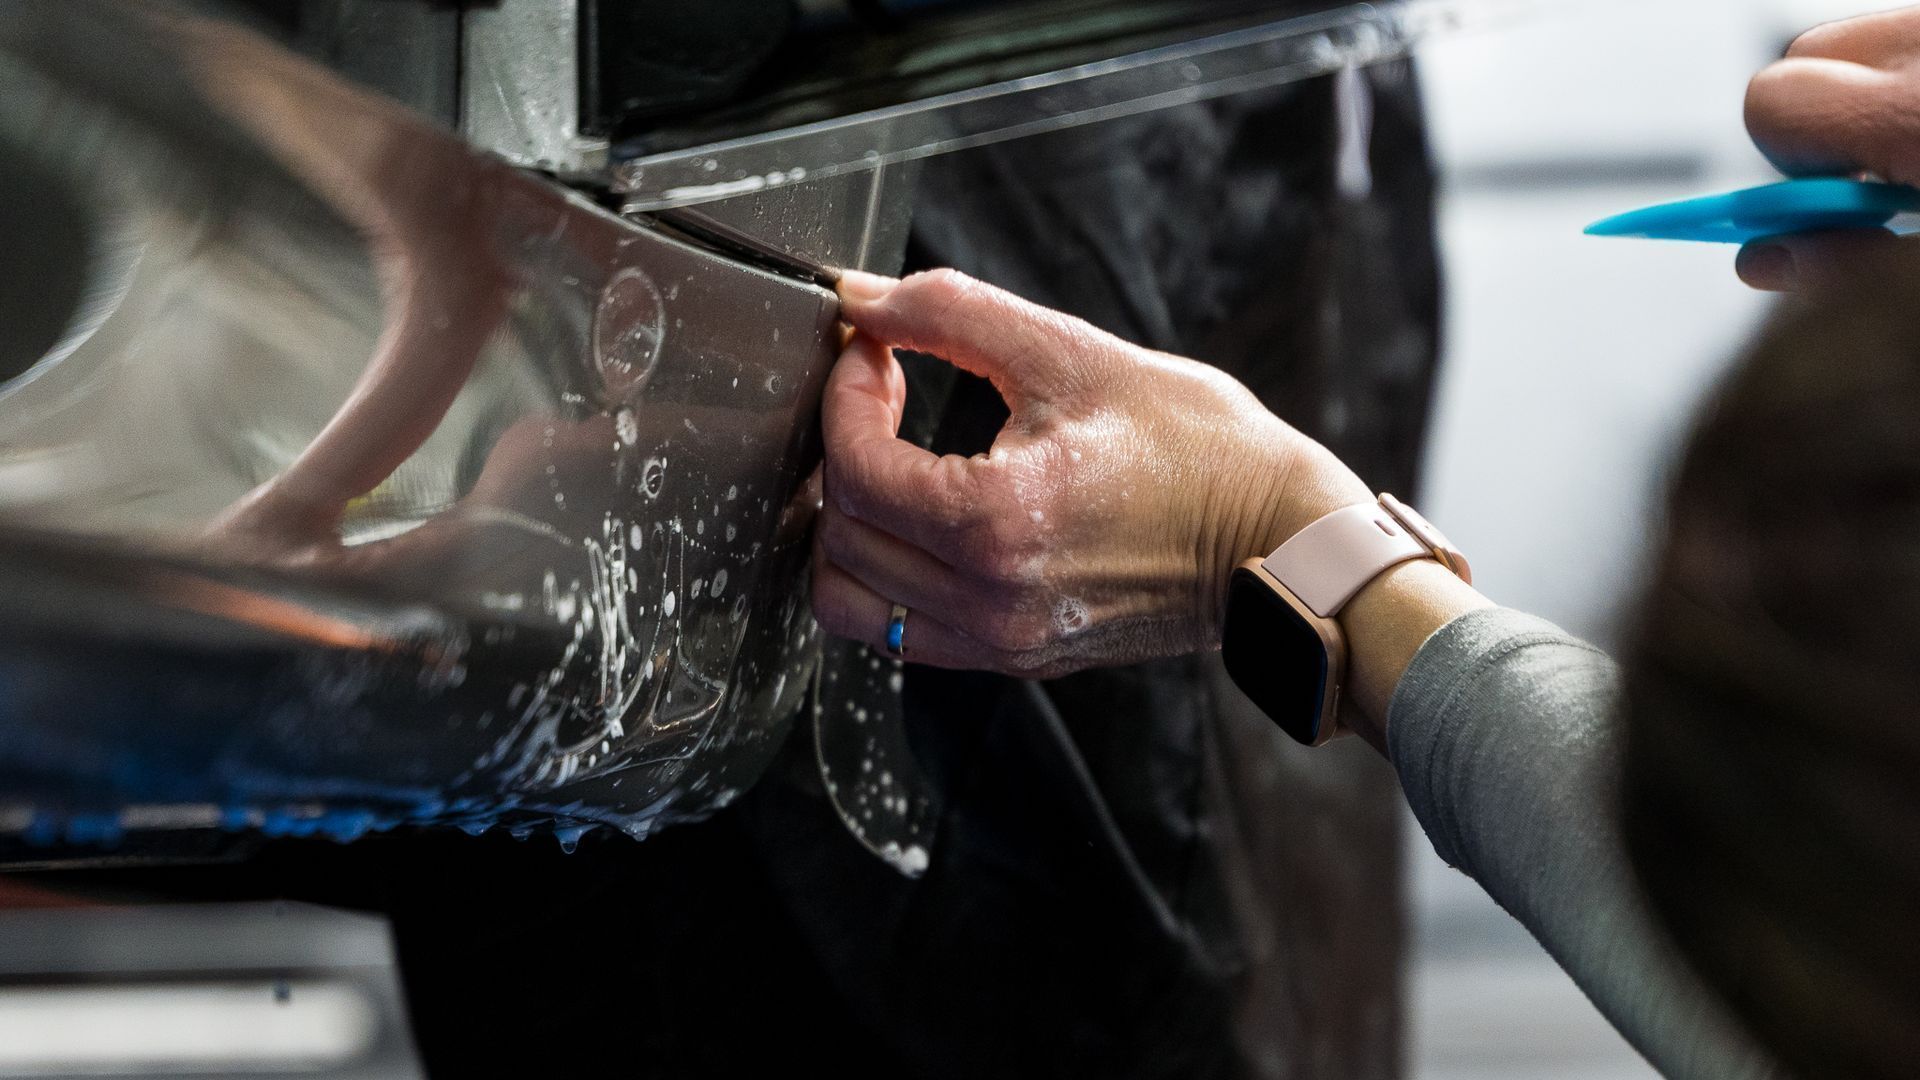
The edges and corners of the film deserve close attention because they contribute to the overall finishing quality. Inspect the areas where the material meets exposed paint, especially around mirrors, headlights, bumpers, doors, and other detailed sections. The edges should appear neat and consistent without obvious loose sections or uneven cuts. Since these areas can involve complicated shapes, careful application and finishing are important for achieving a professional appearance. Look for raised corners, lifting edges, visible adhesive residue, and sections that appear to be separating from the vehicle's surface. These conditions should be discussed with the installer because they may indicate an area that needs additional attention. Also examine whether the film has been positioned neatly around smaller details and panel boundaries. CCA Detailing's manual trimming approach considers intricate areas such as headlights and door grips, where accurate measurements and careful finishing are important. If an edge appears unfinished, ask whether it requires correction or whether its appearance is related to the current curing stage.
Look for Consistent Coverage Across All Protected Areas
Before accepting the vehicle, compare the completed installation with the PPF package selected during booking. Different packages cover different vehicle sections, so understanding the agreed coverage is essential. Check whether all the included panels have received the film and whether there are any unexpected gaps or uncovered areas. This inspection helps confirm that the finished application matches the service you requested. We offer STEK PPF options that include Front End, Track Pack, Full Body, and Full Body Matte or Satin packages. A Front End package includes the front bumper, full hood, mirrors, full front fenders, headlights, and fog lights. The Track Pack adds coverage for rocker panels and partial A-pillars and roof sections, while the full-body options provide broader coverage across the vehicle. Examine the relevant panels and compare them with the agreed service details. If you notice a section that appears to be missing, discuss it with the installer instead of assuming it was included or excluded. Confirming the selected coverage helps avoid misunderstandings and ensures that the completed application reflects your expectations.
Inspect the Film for Visible Bubbles and Air Pockets
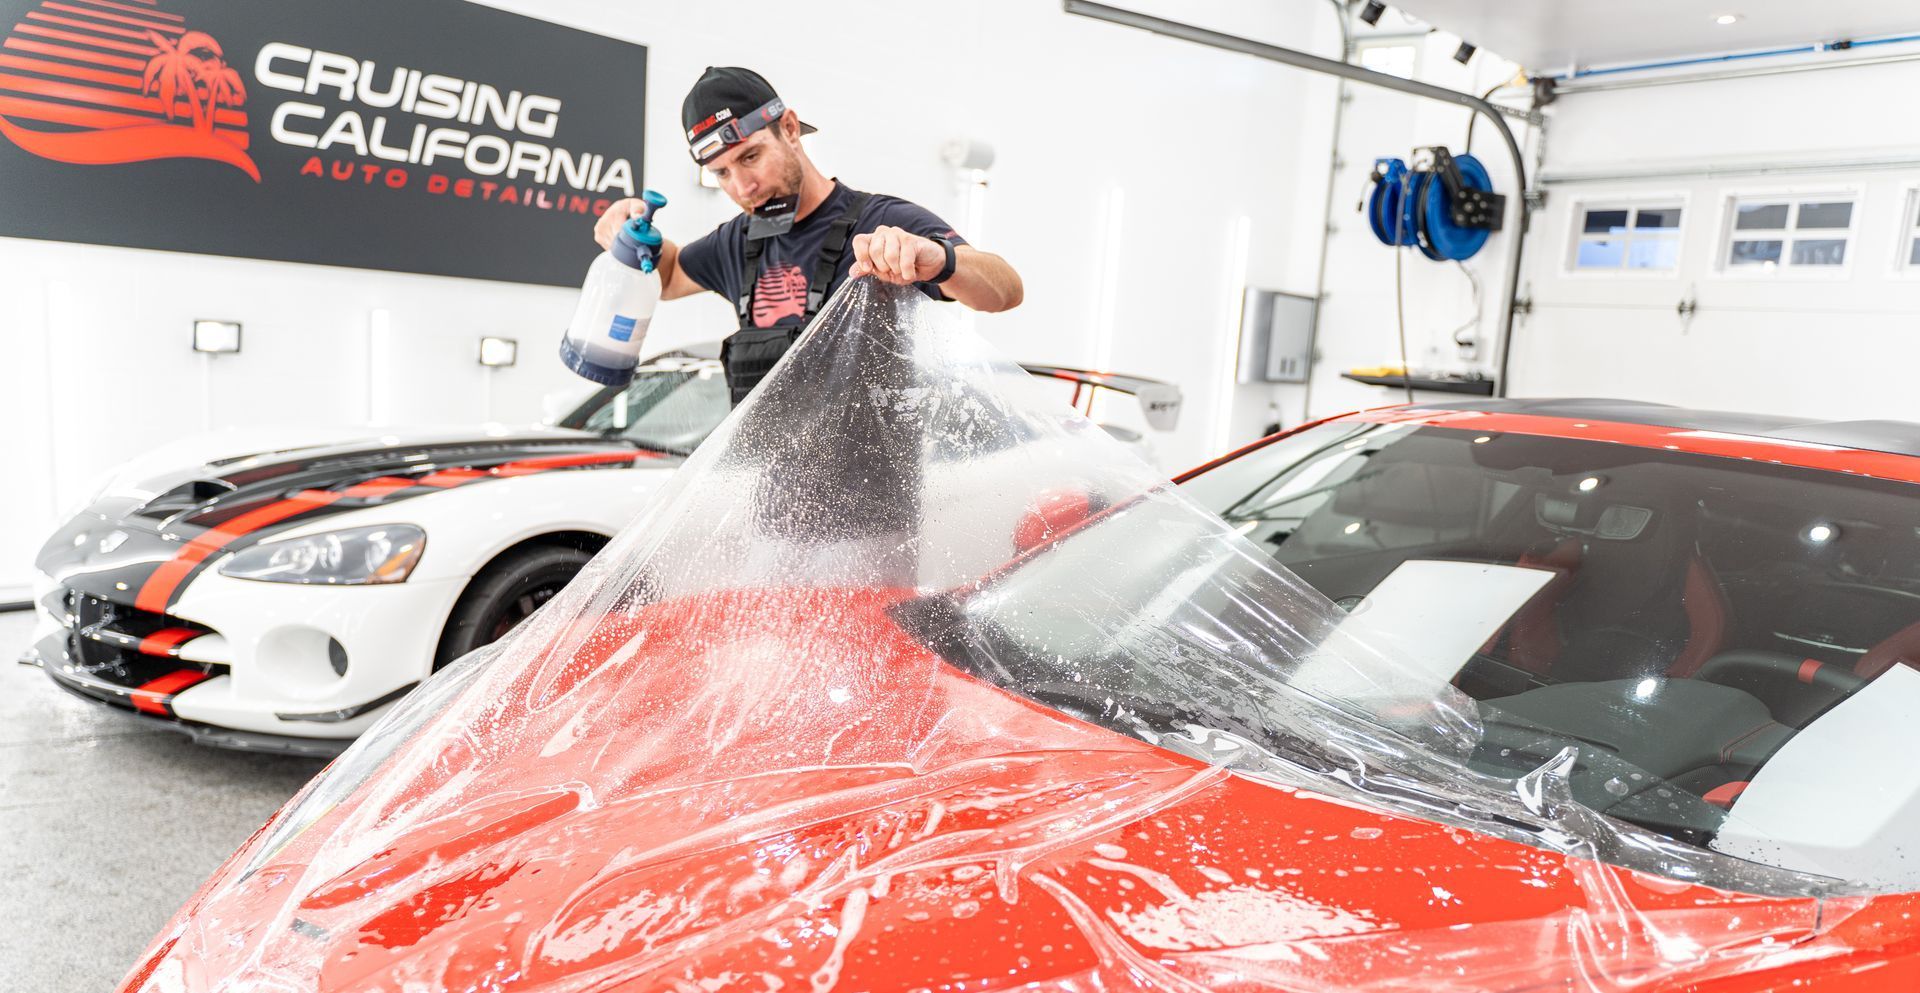
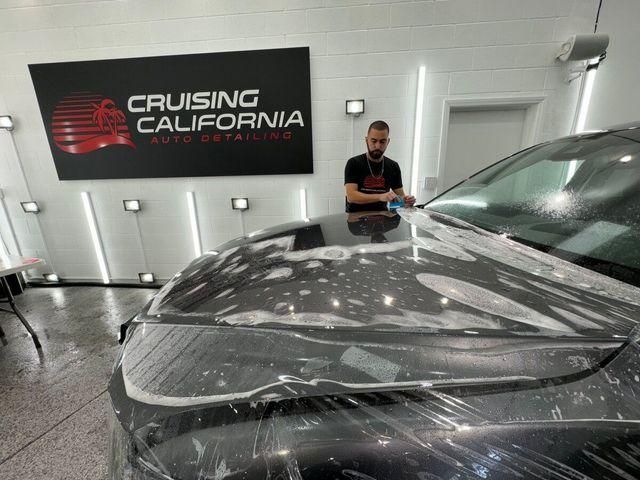
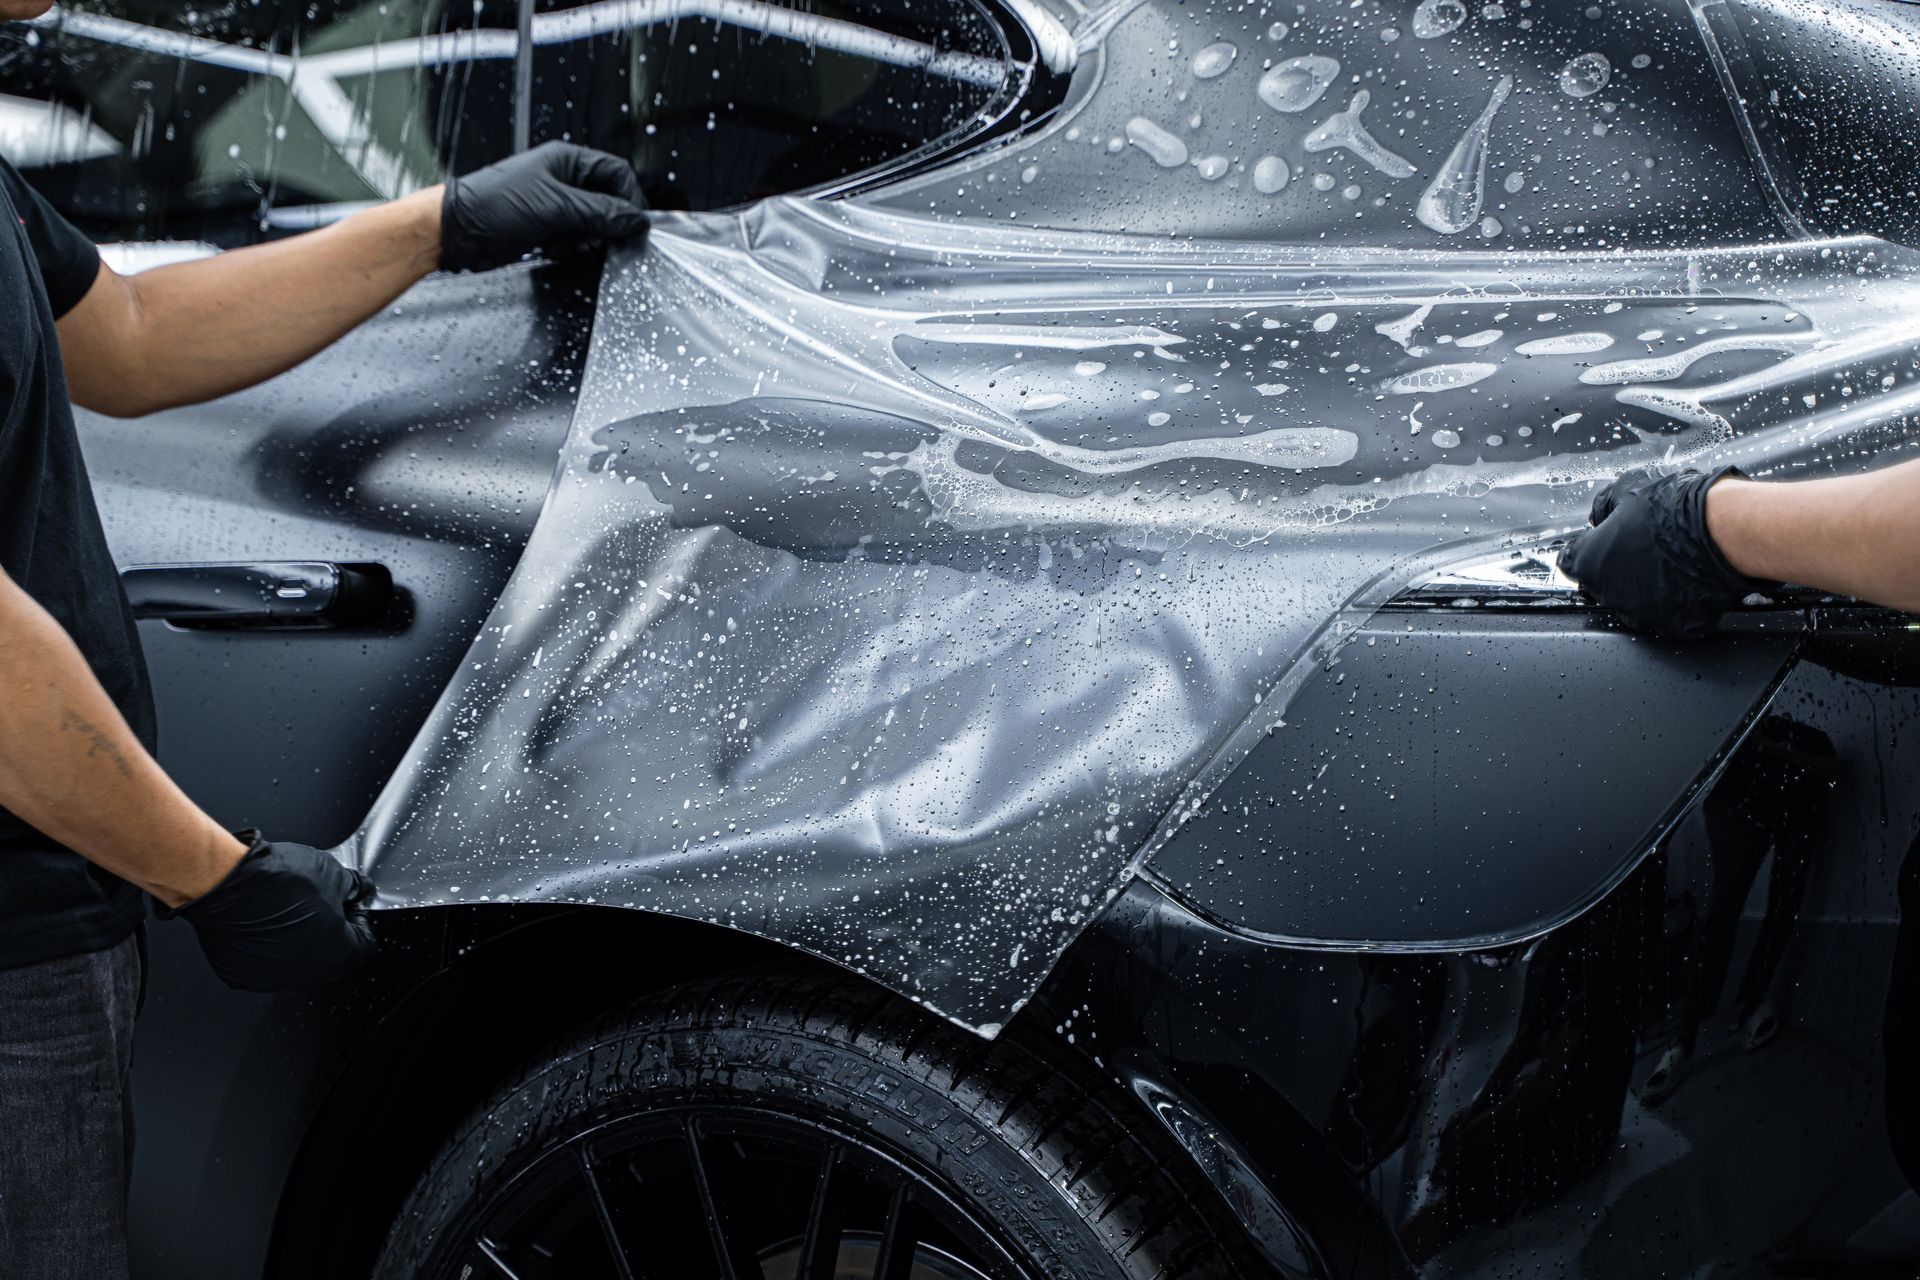
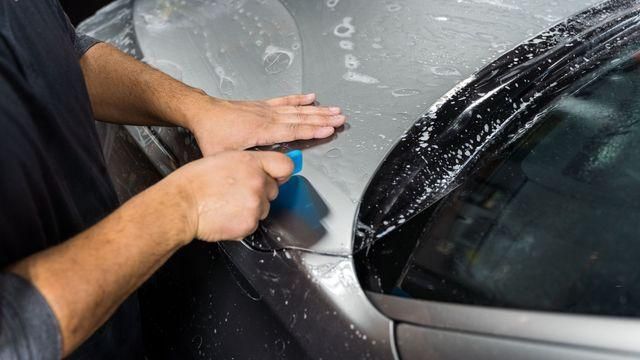
Bubbles and air pockets are among the most noticeable details during a post-installation inspection. Examine the film under suitable lighting and look for raised areas, irregular patches, or pockets that interrupt its smooth appearance. However, it is important to understand that not every small visual irregularity immediately indicates an installation defect. Some moisture-related effects may appear temporarily while the adhesive settles and the film moves through its initial curing stage. Pay attention to whether the bubbles appear small and moisture-related or unusually large and persistent. During CCA Detailing's application process, a lubricating solution helps position the material accurately, while a squeegee is used to remove trapped air and excess solution. Although minor moisture patterns may gradually become less noticeable, persistent air pockets, pronounced raised sections, or unusual irregularities should be professionally assessed. Avoid pressing or rubbing these areas in an attempt to remove them yourself. Instead, ask the installer to explain whether the affected section requires correction or additional curing time. Following professional guidance helps prevent unnecessary disturbance to the newly applied film.
Check for Trapped Dust, Dirt, and Other Debris
A clean surface is important for achieving a smooth and consistent PPF application. Small particles underneath the film can become visible when light reflects across the vehicle's exterior. Examine the hood, bumpers, mirrors, fenders, and other protected sections for noticeable dust, dirt, hair, or other contaminants. These particles may create raised spots or marks that affect the finished appearance. Look closely for dark particles or small irregularities that appear to be underneath the film rather than sitting on its outer surface. If you identify visible contamination, ask the installer to examine the affected section. Avoid trying to remove the particles yourself by lifting an edge or applying pressure to the material. Our preparation process includes surface cleaning, specialized detailing solutions, iron removal when appropriate, and clay treatment to address embedded contaminants before installation. This preparation helps create a smooth surface for film application. Discussing any noticeable debris with the professional allows the area to be evaluated without risking unnecessary damage to the newly installed film.
Understand Normal Curing Effects vs. Installation Defects
A newly installed film may show minor visual changes before the curing process is complete. Understanding these effects helps vehicle owners evaluate the application without confusing temporary moisture-related appearances with actual installation problems. The expected curing period can vary depending on the film, vehicle, and installation conditions. Therefore, asking the installer about the recommended timeline is important before deciding whether a particular appearance requires correction. Knowing what to expect also helps customers avoid disturbing the film while it settles.
Recognize Temporary Changes During Curing
Minor moisture patterns, slight haziness, and small water-related marks may sometimes appear shortly after installation. These effects can become less noticeable as the film settles and establishes a secure connection with the vehicle's paintwork. Their appearance does not necessarily mean that the installation has been performed incorrectly. However, customers should avoid making assumptions about every visible mark. Ask the installer which changes are expected during the initial curing period and how long they may remain noticeable. Following the recommended instructions helps you monitor the film without disturbing its application. It is also important to understand that curing expectations may differ depending on the product and environmental conditions.
Identify Signs of Potential Installation Defects
Some imperfections require more attention than temporary moisture-related effects. Persistent lifting edges, pronounced wrinkles, trapped debris, and unusually large bubbles may indicate that a section needs professional evaluation. Also examine areas where the film appears uneven or does not sit properly against the vehicle's surface. These concerns should not automatically be treated as normal curing effects, particularly when they remain unchanged or become more noticeable. Taking clear note of their location and appearance helps the installer assess the issue and determine whether any corrective work is required. A professional evaluation is preferable to attempting adjustments yourself because disturbing the film may create additional problems.
Know When to Contact the Installer
If a visible concern remains after the recommended curing period or appears to become more noticeable, contact the installation professional. Explain the location and appearance of the affected area instead of attempting to adjust the film yourself. CCA Detailing states that its STEK PPF offerings include a 10-year manufacturer warranty and a 10-year labor warranty covering installation-related issues. Customers should confirm the applicable warranty terms and the process for reporting concerns. Clear communication helps ensure that potential problems are evaluated appropriately and that customers understand the next steps. Keeping the installation and warranty information available can also make future communication easier.
Inspect the Film Under Proper Lighting Conditions
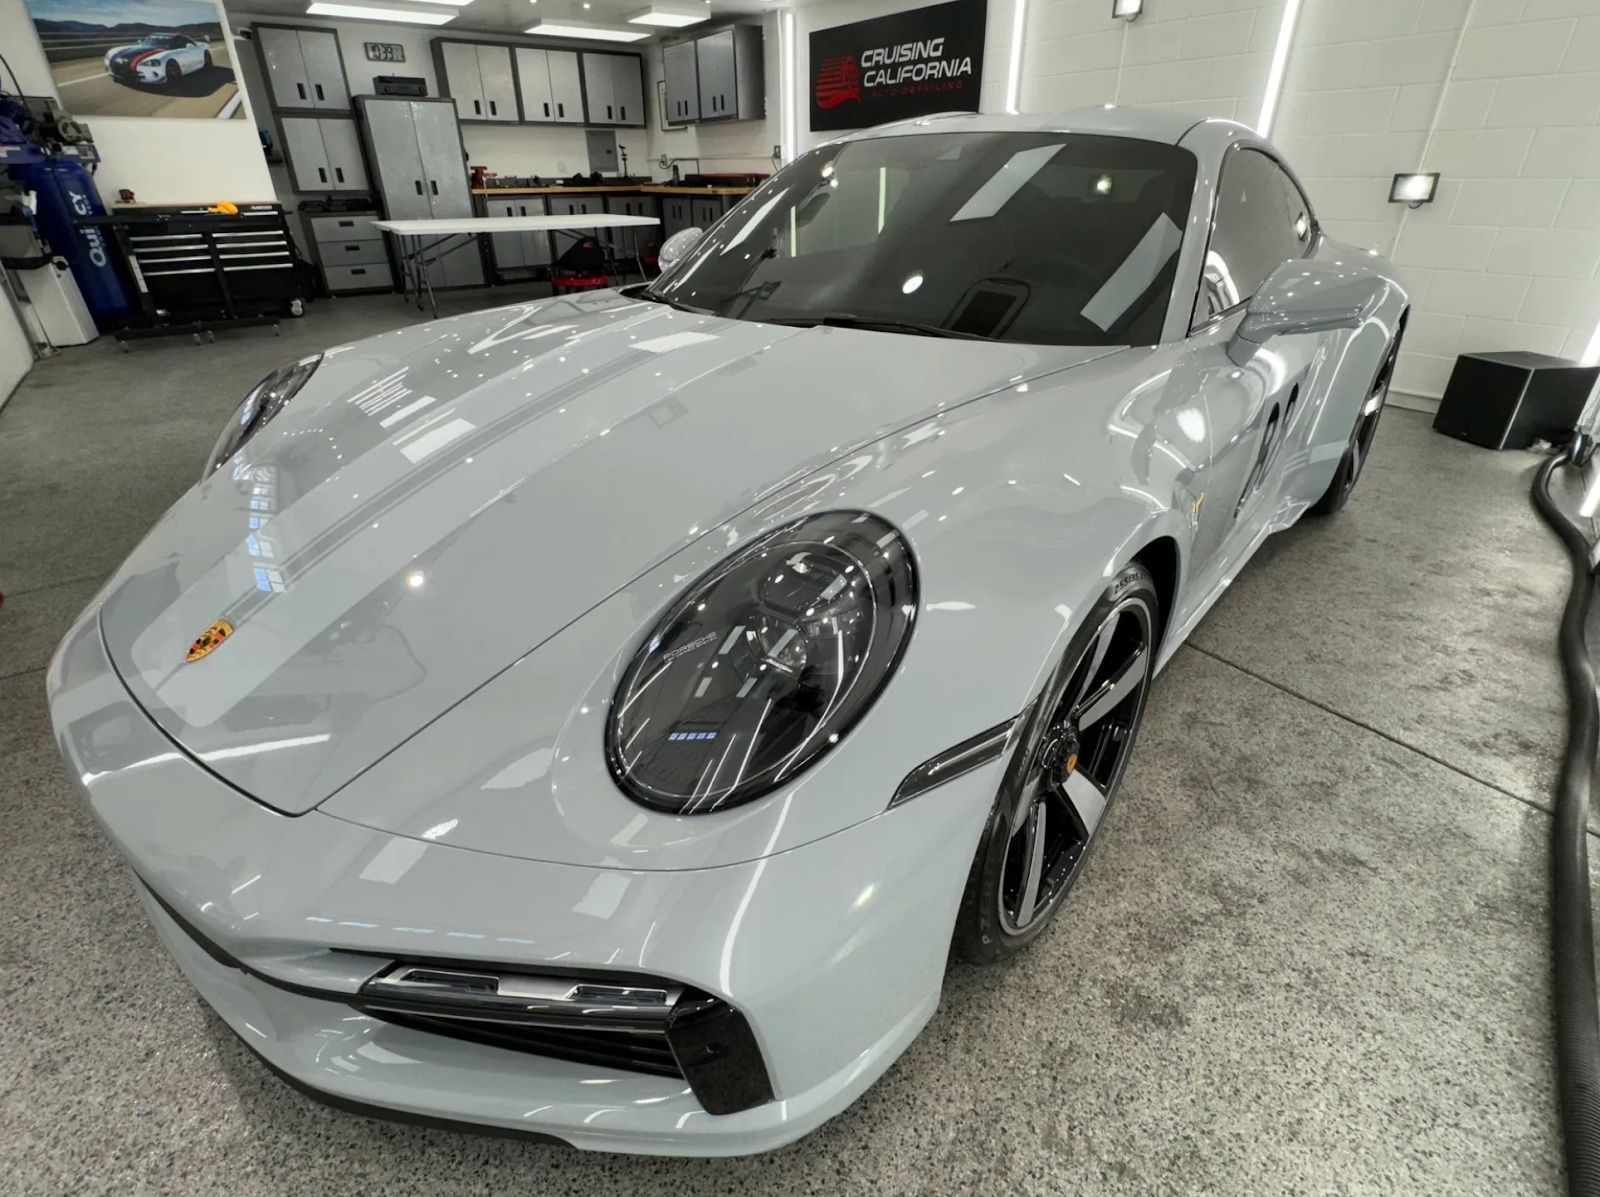
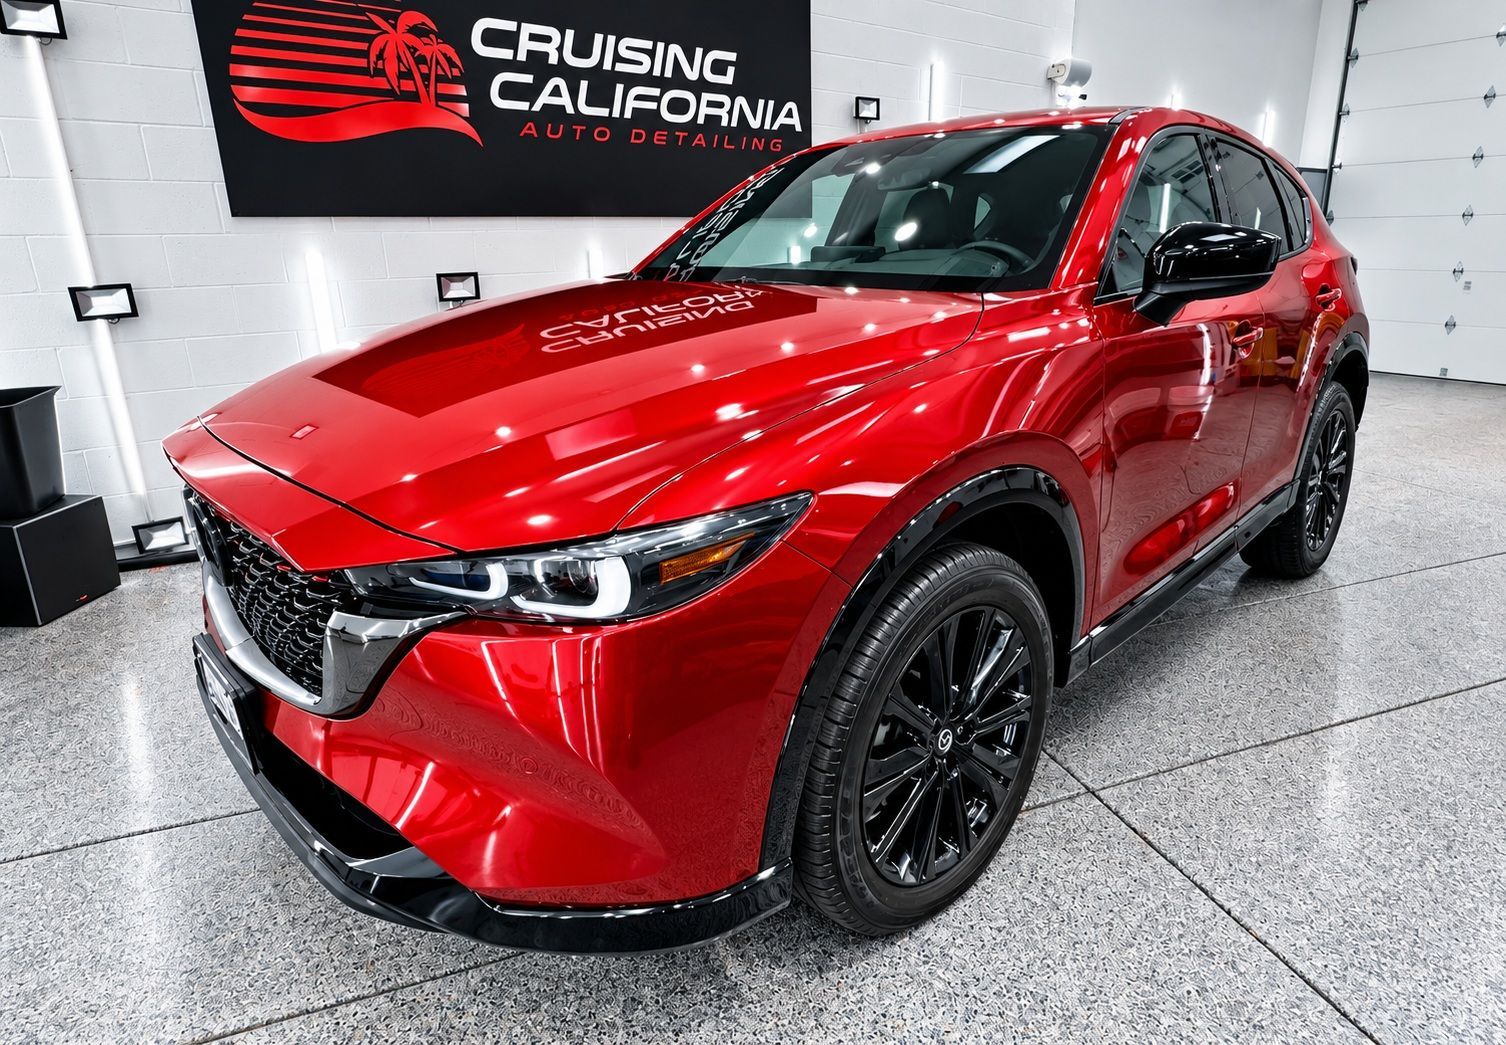
Lighting conditions can make a significant difference when examining a newly installed film. Some imperfections may remain difficult to notice inside a dim workshop but become more visible under natural daylight. Inspecting the vehicle from different angles helps reveal uneven surfaces, bubbles, visible particles, and inconsistent edges. Taking sufficient time to examine both large panels and smaller sections provides a better understanding of the finished application. Whenever possible, view the vehicle outdoors in natural daylight and under bright indoor lighting. Move around the vehicle and examine the hood, doors, bumpers, mirrors, and fenders from different positions. Reflections across larger painted panels can help reveal irregularities that are not obvious when looking directly at the surface. Avoid relying on a single viewing angle because some details become noticeable only when the direction of light changes. A slow examination of the entire vehicle makes the PPF installation inspection more thorough and helps you communicate specific concerns clearly.
Ask the Installer About Warranty, Aftercare, and Installation Concerns
Accepting a vehicle after PPF installation should also involve understanding the warranty and recommended maintenance instructions. Before leaving the facility, discuss any visible concerns and ask how they should be handled if they remain after curing. Understanding the applicable coverage and aftercare requirements helps vehicle owners maintain the film properly and avoid unnecessary issues during its initial settling period. Ask about the manufacturer's warranty, installation workmanship coverage, and the process for reporting concerns. CCA Detailing advertises a 10-year manufacturer warranty and a 10-year labor warranty covering installation-related issues. Confirm the specific terms applicable to your selected STEK package. You should also ask when the vehicle can be washed, which cleaning methods are recommended, and whether any temporary restrictions apply. Avoid lifting film edges, applying unnecessary pressure, or using cleaning equipment before the recommended waiting period. Following professional aftercare instructions helps maintain the appearance and condition of the newly installed material.
Professional Paint Protection Film Installation in El Cajon, CA
The quality of a paint protection film application depends on careful preparation, accurate measurements, controlled placement, and proper finishing. Vehicle owners in El Cajon, CA, should consider how the installer handles different body shapes and detailed areas when evaluating professional service. We provide STEK paint protection film packages with an installation process designed to address the individual requirements of each vehicle. Attention to these stages helps achieve a consistent appearance and reliable application quality. We follow a four-stage process that begins with surface preparation to remove loose dirt and embedded contaminants. The next stage involves measuring and manually trimming the film according to the vehicle's specifications and natural curves. During adhesive application, a lubricating solution assists with accurate positioning, while a squeegee helps remove trapped air and excess solution. The final stage involves finishing and curing, allowing the material to establish a secure connection with the vehicle's paintwork. Customers can explore Front End, Track Pack, Full Body, and Full Body Matte or Satin packages according to their coverage requirements. This structured approach reflects the importance of preparation and attention to detail throughout the installation.
Final Inspection Before Accepting Your Newly Installed PPF
Taking a few extra minutes to examine your vehicle before accepting the completed installation can help you feel more confident about the work. Check the alignment, edges, coverage, visible bubbles, and possible contamination across the protected panels. Use proper lighting and different viewing angles to identify concerns that may not be noticeable immediately. Remember that some minor moisture-related effects may improve during curing, while persistent imperfections should be discussed with the installer. Comparing the completed application with your selected package is equally important because it helps confirm that the agreed sections have received the intended coverage. A professional PPF installation should provide consistent coverage, neat finishing, and careful application across the selected vehicle sections. Do not hesitate to ask questions if something looks unusual or differs from the agreed package. We offer professional STEK paint protection film installation in El Cajon, CA, with several coverage options to suit different vehicle protection requirements. A thorough inspection and clear communication help ensure that you understand the condition of your newly installed film before driving away. For professional PPF installation and expert paint protection solutions in El Cajon, CA, contact us today or visit our website to explore available packages and request a quote.